To Translate Strings into Multiple Locales
This topic explains how to translate strings from a base language into other languages (i.e. Spanish (Spain), Chinese(Simplified) etc).
Before You Start
* Do you have translated list of text strings you want to use? If so, see To import translated text.
* Are you working with a RFgen application database that already had translated strings, and the application database was upgraded from 5.1 to 5.2? If so, see the topic To apply translated text across all applications.
* Do you simply want to translate a text string through the RFgen Google Translation tool? If yes, then see How Translations Work or continue to Step A.
Overview of how the translator works
RFgen uses Google Translator to perform translations. Translations performed by Google are not context-aware. This means the term Google translated may not be the correct term for how that term is used in context in the country's business culture. For example, in the United States, the term "Plant" is commonly used for warehouse, but in other countries, the literal translation is a green plant that grows in your yard and does not have the contextual meaning of a warehouse or manufacturing facility.
It is recommended that a native speaker review the translations to avoid any translations that are out of context.
For an overview of this feature, see Text Resources - How this Works.
Step A. Add Your Primary Text Resource
1. First create your primary list of text strings (Text Resource table) in your native language. This text resource object will be your primary starting point/base for the strings to be used all the other languages. It will also serve as the source that provides additions and deletions to the other Text Resource objects in the other languages.
Navigate to Solution Explorer > Text Resource, right-click on the Text Resources icon and select Add New Text Resource.
![]()
2. In the popup screen [New], select your language from the Language Id menu list. Scroll to or enter the first two letters of the language you want while in the drop down menu. In our case, we entered "en-US."
![]()
3. Save your selection. This adds a new file under the Text Resource folder using the language it identifies with. In this example, the new resource is en-US-English(United States).
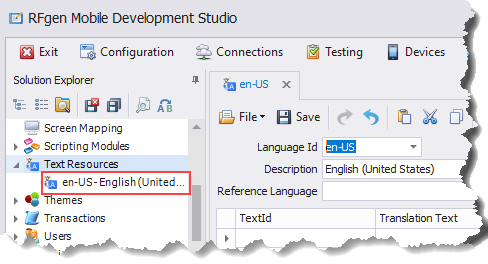
In the tab, leave the Reference Language blank.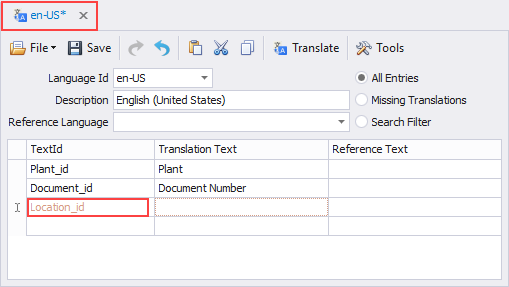
4. Enter your text string identifiers in the TextId column.
5. Enter the meaning of the id in the Translation Text column. The text in the Translation Text column is the text that will display in your application at runtime when its linked properly to the element in the application.
For example "Plant_id" and "Plant." The Translation Text can accept any alpha-numeric characters and symbol.
If the text string is colored, (Location_id) this means the entry is incomplete and a value is missing in one of the fields.
In this case, the string "Location" was missing from Translation Text. Once the missing text is entered, the color changes back.
Keep the All Entries button selected.
6. Click Save to save changes.
![]()
Step B. Add Other Languages and Populate from Reference Language
Once your primary Text Resource is created, you can now create the other tables that will store your translated strings in the locale of desired language. In this example, the new table will be used to store strings in French.
1. Right-click on the Solution Explorer > Text Resources icon and select Add New Text Resource.
2. In the Language Id menu, select the desired language. For example, enter "fr" to create a French Text Resource table.
![]()
3. Populate the fr-FR table's TextId and Reference Text from Step A above by selecting your primary resource language from the the Reference Language menu list.
In this case, we'll select "English (United States)".
![]()
4. The fr-FR TextId and Reference columns are filled in using the TextIds and Translation Text from the primary resource (En-US).
The colored text indicates the Translation Text is missing.
5. Click Save. The fr-FR file is added under the Text Resources folder.
Step C. Translate Text
1. To translate the missing values click on the Translate icon.
2. Click Yeson the pop-up message:
Translate missing entries using Google Translation Services?
3. The Translated Text is now filled in with the text strings in French.
![]()
4. Click Save. This adds the object under the Text Resources node.
5. Repeat steps B and C to create additional translations.